Administrators can update their institution’s organisation settings in Snapplify Engage.
Only users with the administrator role can:
- Update the institution name
- Upload or change the institution logo
- Update the institution address
Accessing Organisation Settings
- Log in to Snapplify Engage.
- Select the Settings cog in the top-right corner of the screen.
- Open the Organisation Settings page.

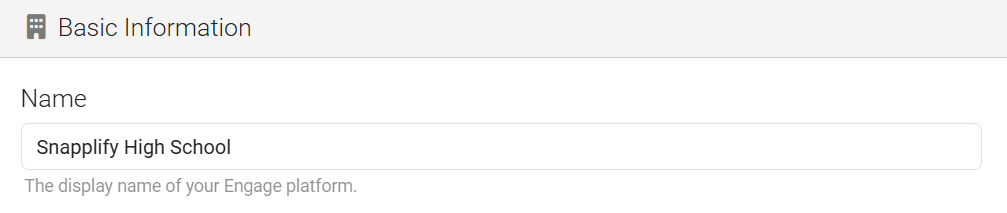
Updating your institution's name
- In the Organisation Settings page.
- Enter the updated institution name in the text field.
- Select Save.
Uploading a new institution logo
- Click to browse or Drop an image of your logo in Logo section.
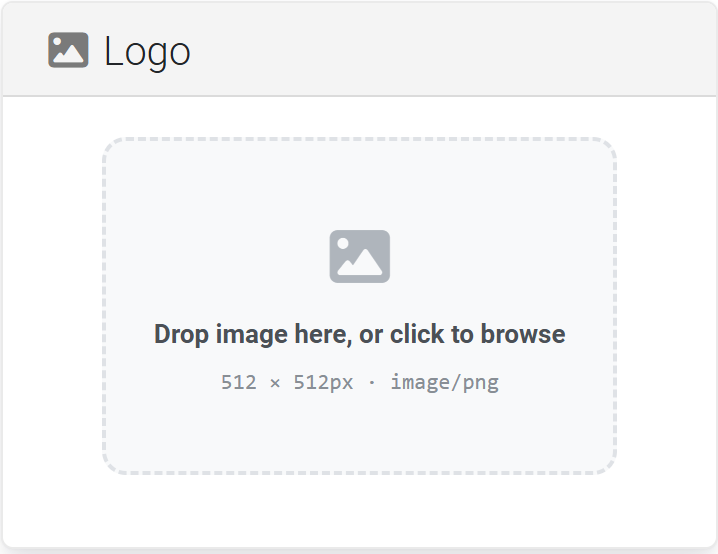
Uploading a logo helps students and staff identify that they are accessing the correct institution platform.
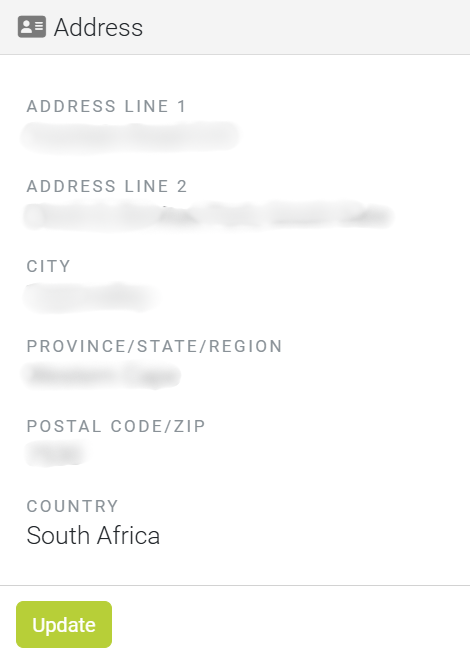
Updating your institution's address
- Navigate to the address section on the Organisation Settings page.
- Update the institution address details in the text field.
- Select Update to save your changes.
Need help? Use the live chat in the bottom right corner of your screen. Email us at help@snapplify.com or reach out via Whatsapp +27 60 011 8065.


