If you need to change the owner of a group that has already been set up in Engage, you can easily do that. You can change the owner on one group or multiple groups, simultaneously.
To change the owner of a group
- Once logged in to Engage, navigate to the settings section by clicking the cog icon in the top right-hand corner of your screen.

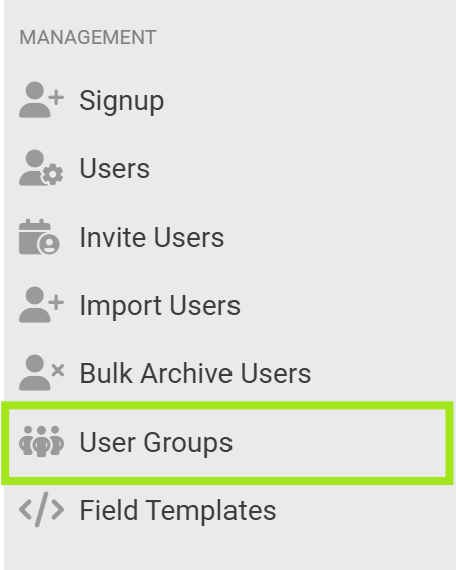
- Click ‘User Groups’ in the navigation.
- On the ‘Groups’ page, under the Owner column, select the icon of the owner currently assigned to the group.

- An ‘Owner’ pop-up opens. Change the owner of the group by starting to type the name of the new owner in the ‘Search owner’ field and selecting the applicable name from the list of suggestions. Alternatively, select ‘Make me the owner’ to assign ownership to yourself.

- Click the ‘Save’ button to assign the new owner to the selected group.
To change the owner on multiple groups
To bulk-assign an owner to multiple groups simultaneously:
- Once logged in to Engage, navigate to the settings section by clicking the cog icon in the top right-hand corner of your screen.

- Click ‘User Groups’ in the navigation.

- On the ‘Groups’ page, select the checkbox next to the groups you want to assign a new owner to.
- Click the ‘Add Owner’ button.
- An ‘Add Owner’ pop-up opens. Change the owner of the group by starting to type the name of the new owner in the ‘Owner’ field and selecting the applicable name from the list of suggestions. Alternatively, select ‘Make me the owner’ to assign ownership to yourself.
- Click the ‘Save’ button to assign the new owner to the selected groups.


You can edit user groups further by adding or removing users.
Need help? Use the live chat in the bottom right corner of your screen. Email us at help@snapplify.com or reach out via Whatsapp +27 60 011 8065.